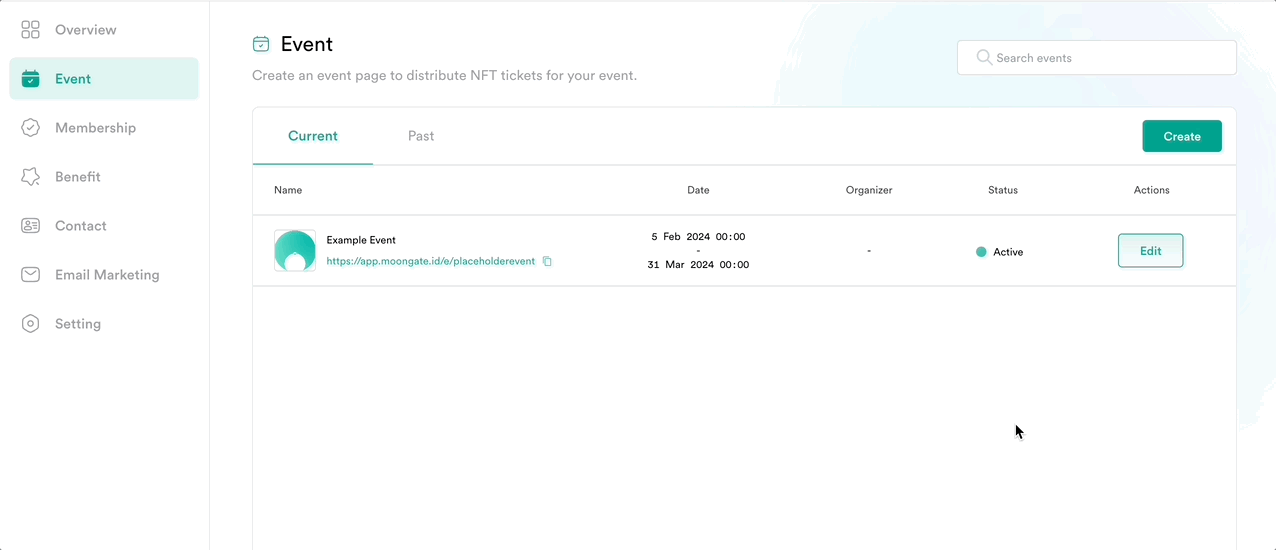

Where customers will see the different ticket types
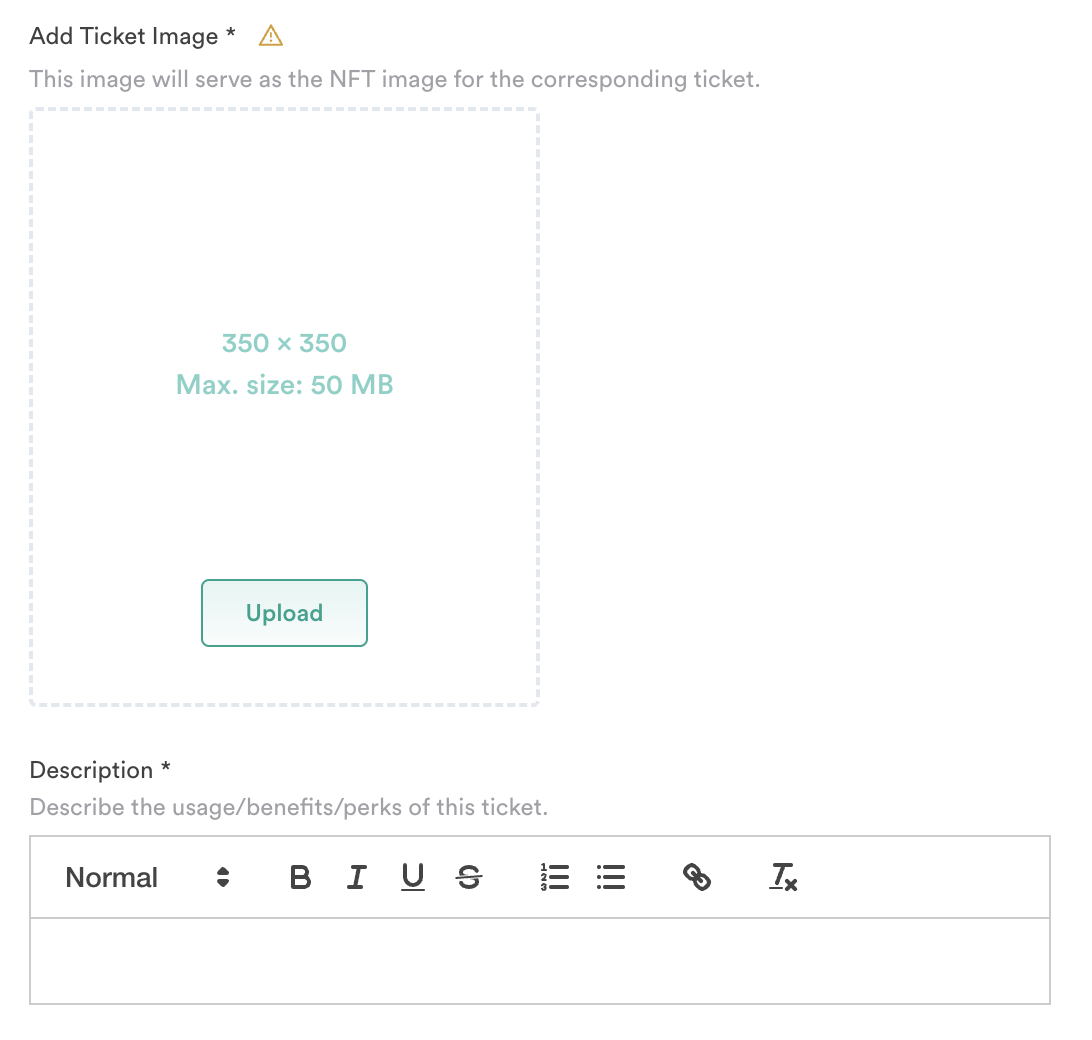
Where customers will see the ticket description during checkout
Where customers will see the ticket description during checkout
Where customers will see the ticket image in their ticket confirmation email