# Creating an Event
Before you can create and issue tickets, you must first create a corresponding event.
{% hint style="info" %}
Event creators are limited to creating 2 events. If you’d like to create more than 2 events, please contact us via [email.](mailto:support@moongate.id)
{% endhint %}
1. **Register your event**
Sign into the [Moongate Merchant Portal](https://portal.moongate.id/), open the [‘Event’ tab](https://portal.moongate.id/events), and click ‘Create’.
2. **Add basic information for your event**
Enter the name of your event, starting & ending dates/times, address, etc.
{% hint style="warning" %}
While you can edit most of this information even after your event goes live, your event’s URL **cannot be changed after publication.** Be sure to double-check it before publication.
{% endhint %}
When you are ready, scroll to the end of the page and click ‘Next’.
{% hint style="info" %}
Tip: Clicking “Next” will save your work. You can also click “Save Draft” at any point to save your work and return to it later.
{% endhint %}
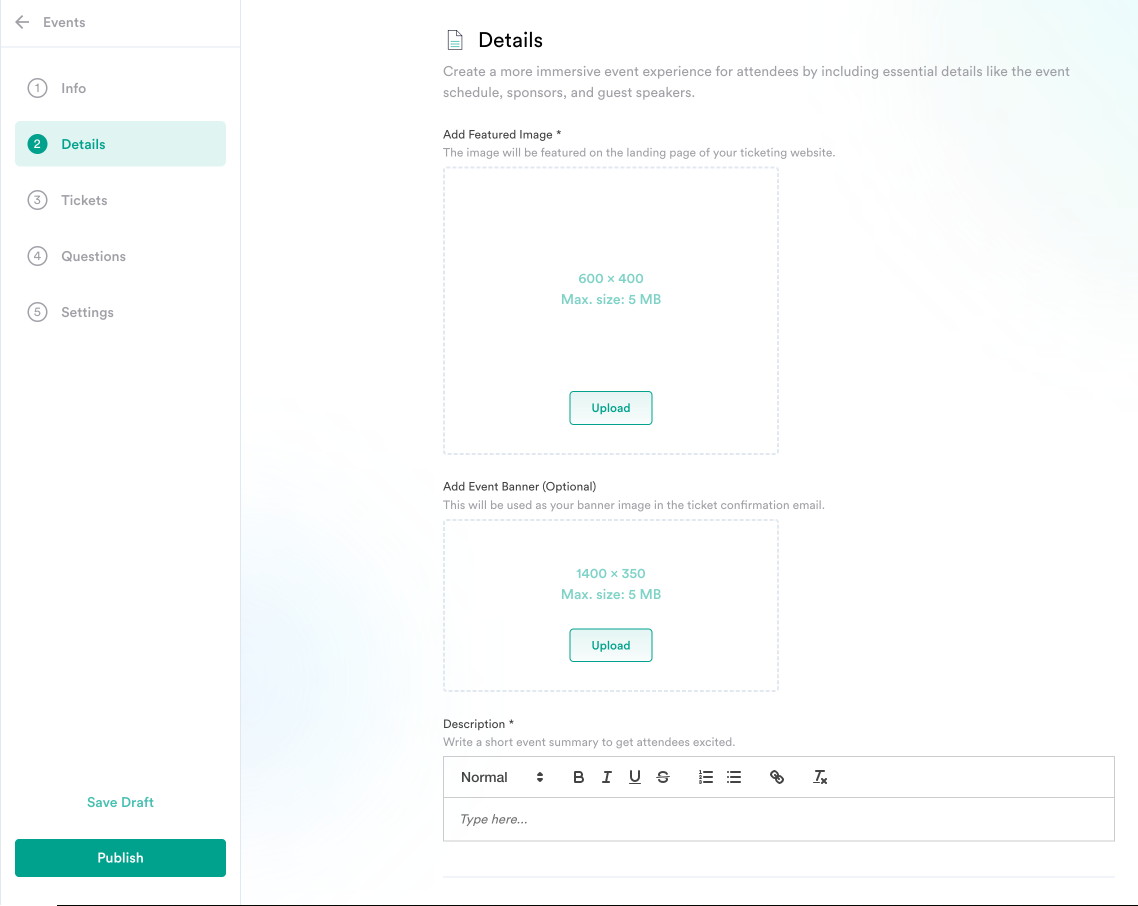
3. **Fill out the details of your event**\
\
Add a featured image, event banner, and description of your event, as well as links to relevant social media accounts.
{% tabs %}
{% tab title="Featured Image" %}
Where customers will see links to website/social media accounts
{% endtab %}
{% endtabs %}
When you are ready, scroll to the end of the page and click 'Next'. You are now ready to [create tickets](/merchant-guide/creating-a-campaign/ticketing/creating-tickets.md)!
---
# Agent Instructions: Querying This Documentation
If you need additional information that is not directly available in this page, you can query the documentation dynamically by asking a question.
Perform an HTTP GET request on the current page URL with the `ask` query parameter:
```
GET https://docs.moongate.id/merchant-guide/creating-a-campaign/ticketing/creating-an-event.md?ask=
```
The question should be specific, self-contained, and written in natural language.
The response will contain a direct answer to the question and relevant excerpts and sources from the documentation.
Use this mechanism when the answer is not explicitly present in the current page, you need clarification or additional context, or you want to retrieve related documentation sections.